The New AI Workflow
For years, designers have been stuck in the loop of "pixel pushing"—manually drawing rectangles, finding stock photos, and typing out placeholder text. Figma's AI updates have fundamentally changed this dynamic. We now have three major pillars integrated directly into the tool: Generation (creating layouts from scratch), Intelligence (refining text and search), and Visual Editing (manipulating images without leaving Figma).
This isn't about AI replacing designers. It's about removing the "blank canvas paralysis." By automating the tedious setup phase, you can spend more time on high-level UX strategy and creative polish. If you're new to Figma, check our Figma shortcuts guide or explore our Framer shortcuts for comparison. Let's break down exactly how to use these tools.
Step 1: Generating Layouts with "First Draft"
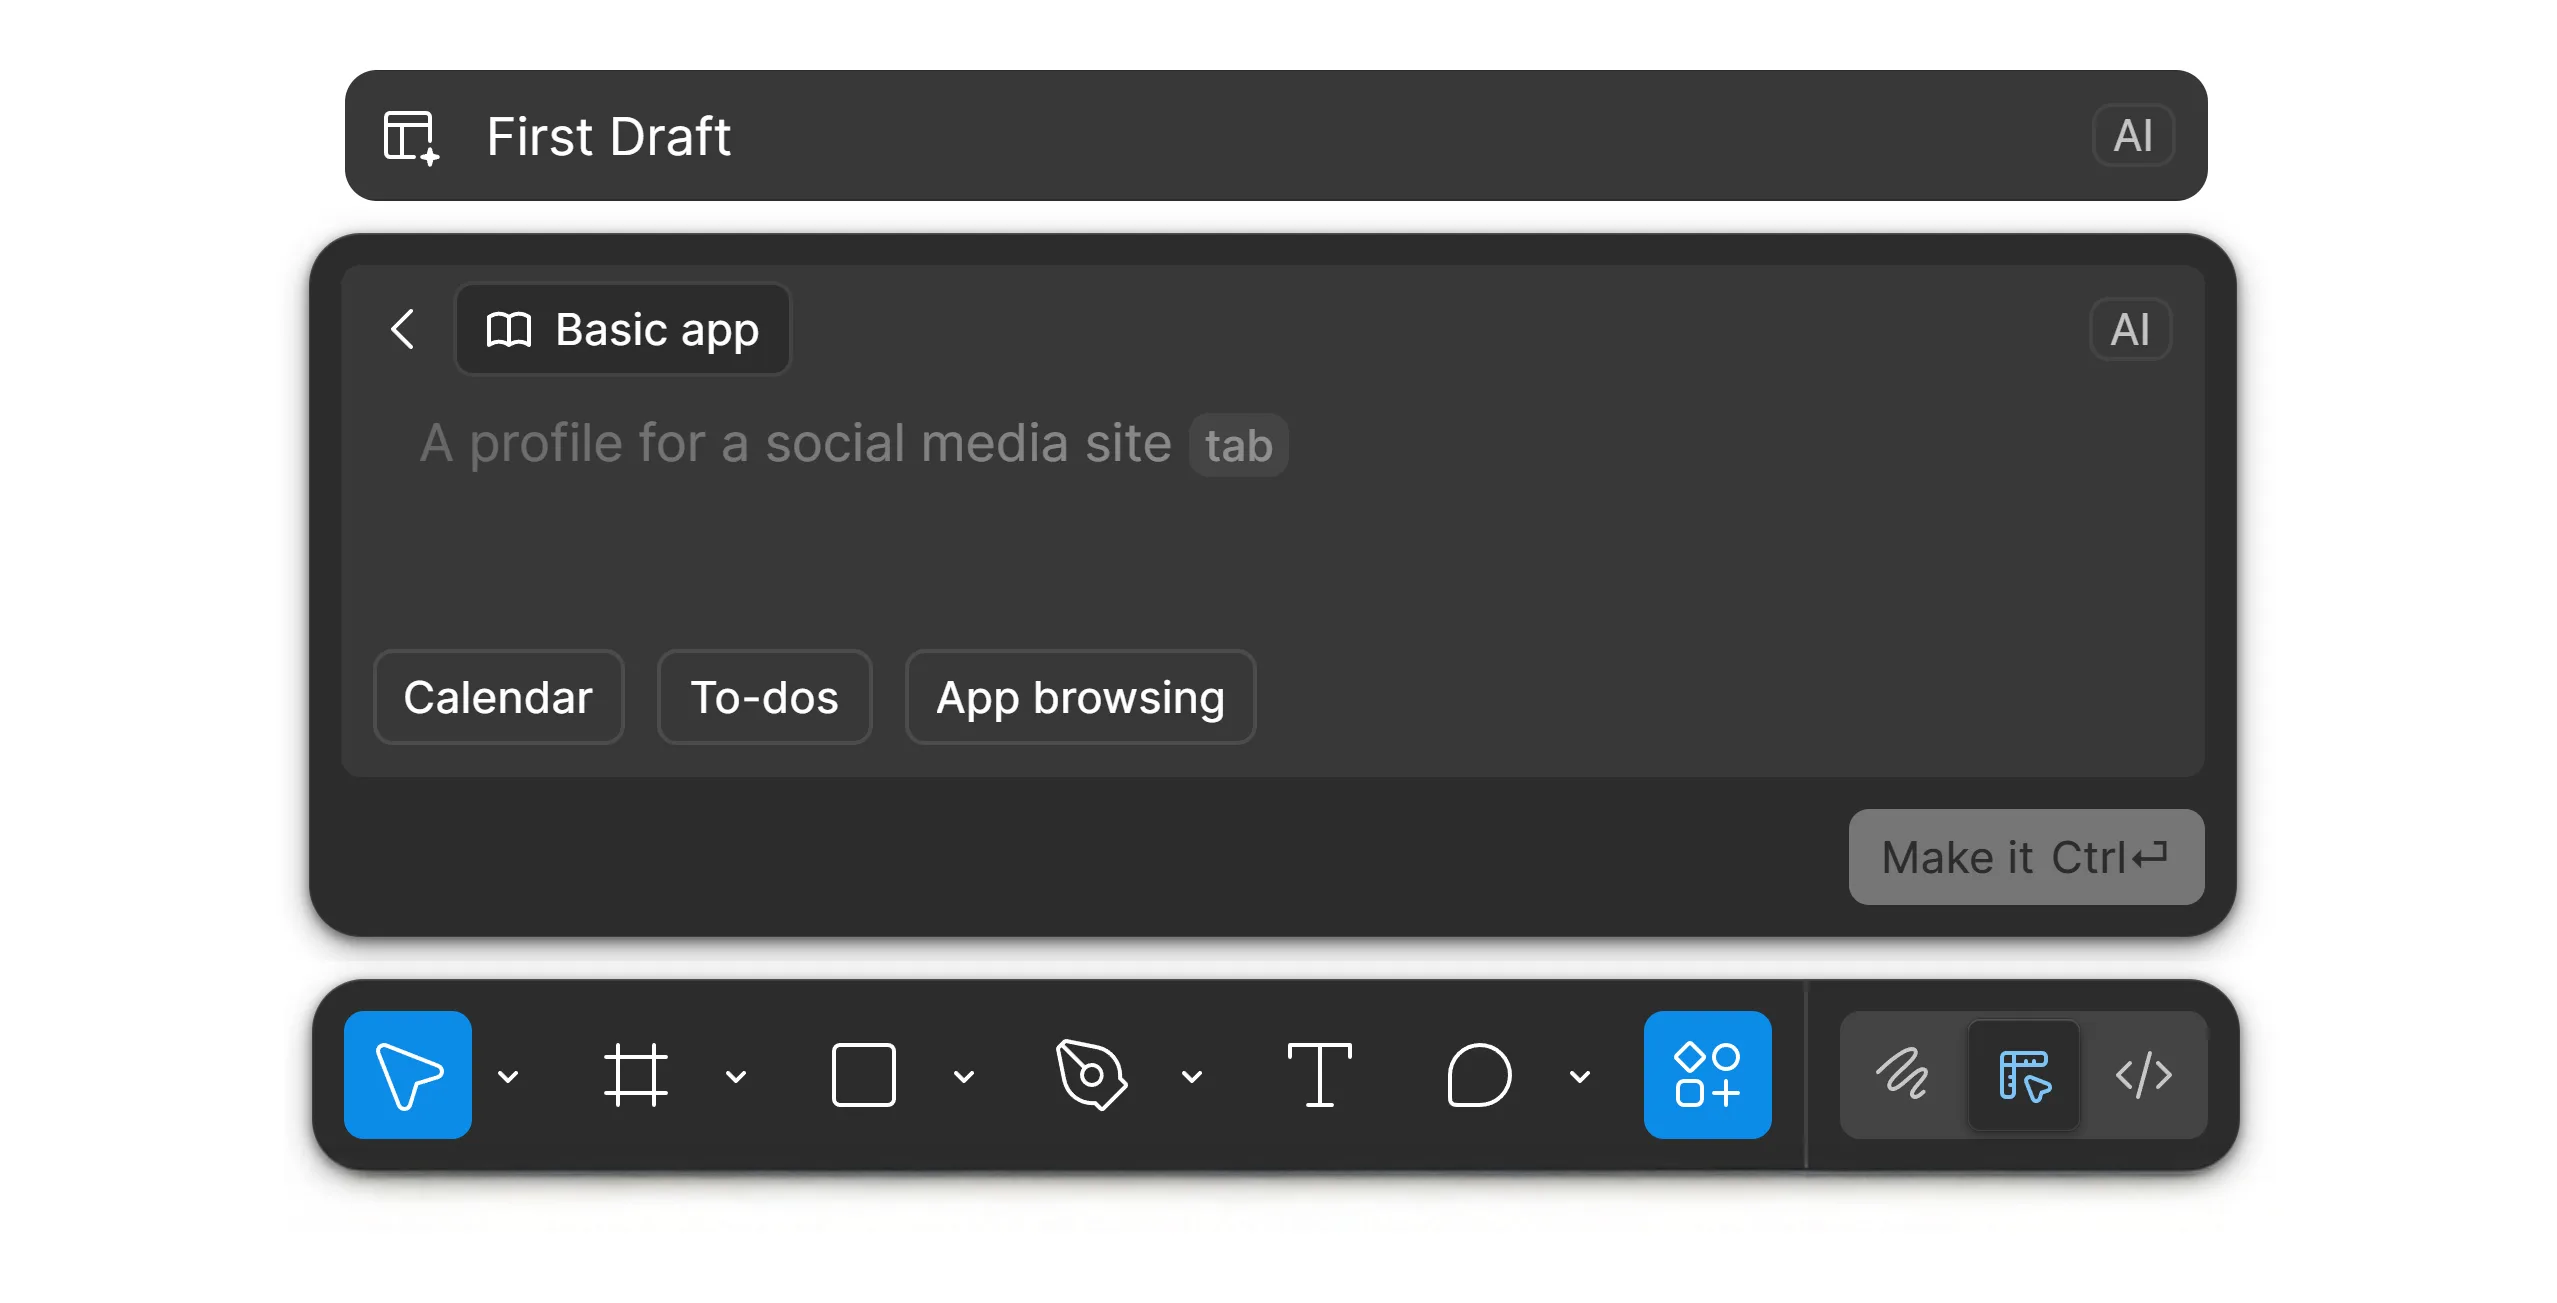
Formerly known as "Make Design," the First Draft feature is your new starting point. In the past, starting a project meant dragging in frames, setting up grids, and manually placing standard components like navbars and footers. Now, you can simply describe your intent, and Figma builds the foundation for you. Want to jumpstart your design with pre-made components? Browse our free Figma component library for ready-to-use UI elements.
The beauty of "First Draft" is that it doesn't just paste a flat image. It builds a real, editable Figma file complete with Auto Layout frames and separate layers. This means you can immediately start dragging elements around, resizing sections, or changing colors without having to "trace" the AI's work. For inspiration on professional UI layouts, check out our collection of best Figma login screen designs.
⚡ Action: Press Cmd + K (or click the Actions sparkle icon) and select "First Draft".
💡 Prompt Strategy: Be as specific as possible about the structure. For example: "A mobile product page for a premium dry fruit brand named 'Kenznuts'. Include a hero image with a dark overlay, a 'Benefits' section with three icons, and a sticky 'Add to Cart' button at the bottom."
Step 2: The Text Intelligence Suite
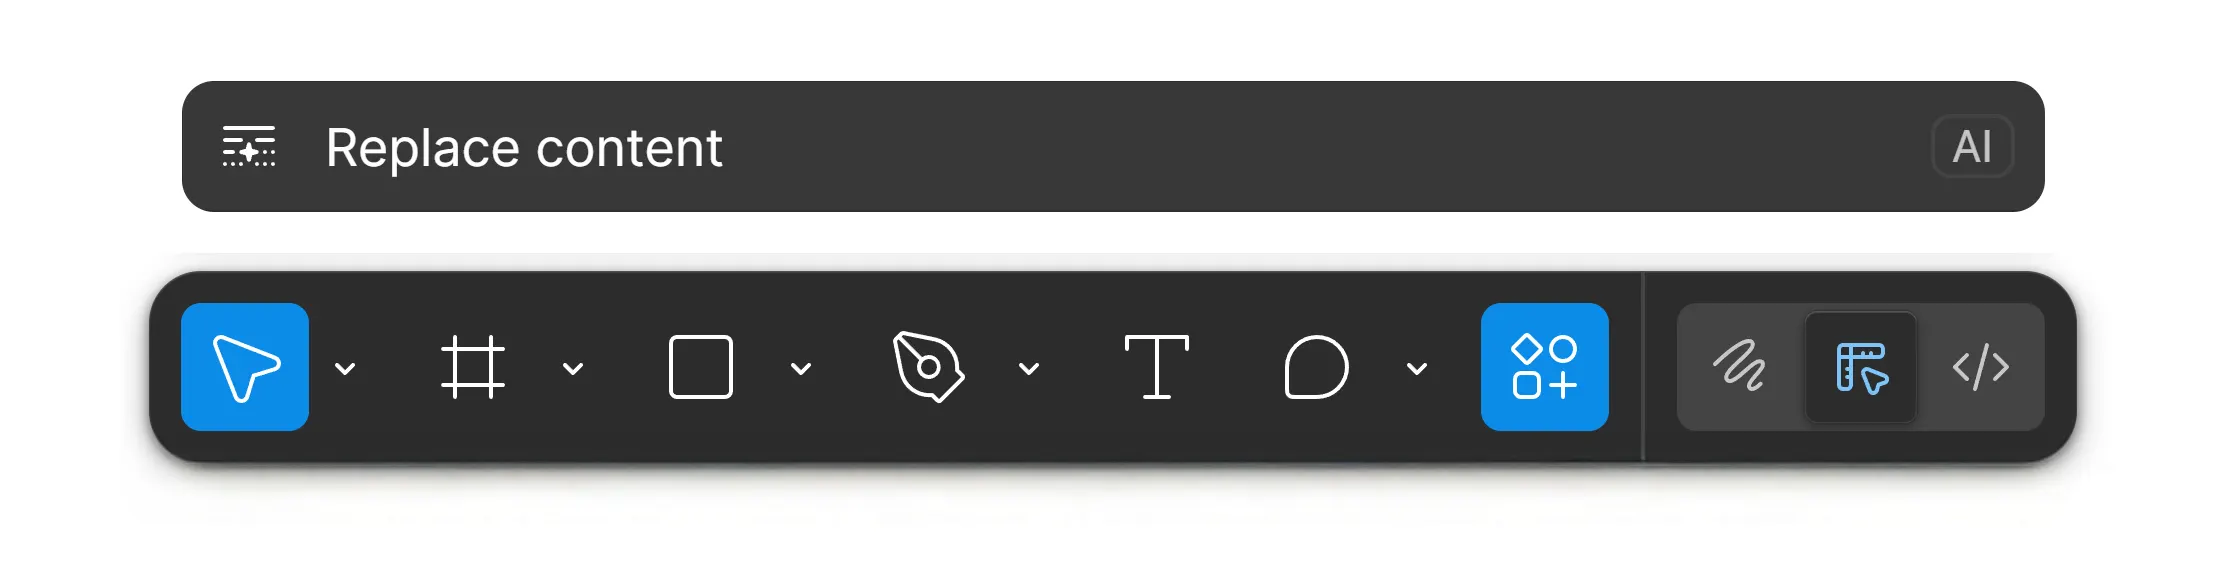
Writing good UX copy is notoriously difficult, and using "Lorem Ipsum" is a dangerous trap because it doesn't reflect how real content will break your design. Figma AI includes a suite of text tools that help you write, refine, and localize copy instantly.
Rewrite & Tone Adjustment: Have you ever written a placeholder headline that felt too dry or boring? You can now select that text layer and ask AI to "Make it punchier," "Make it more professional," or "Simplify the language." This allows you to iterate on the voice of the product alongside the visual design.
- ✂️ Shorten: This is a lifesaver for mobile UI design. If your marketing copy is three lines long but you only have space for two, simply hit "Shorten." The AI condenses the message without losing the core meaning, keeping your UI clean.
- 🌍 Translate to: Designing for global audiences used to require external plugins or spreadsheets. Now, you can select a whole frame and translate it into Spanish, Japanese, or Hindi instantly. This helps you spot layout breaks (like long German words) early in the process.
- ✨ Replace Content: This is perhaps the most magical feature. Instead of typing "John Doe" ten times, select a list of text layers and prompt: "Fill with diverse customer names" or "Generate realistic 5-star reviews." The AI populates unique, context-aware data instantly.
Step 3: Visual AI Suite (Image Editing)
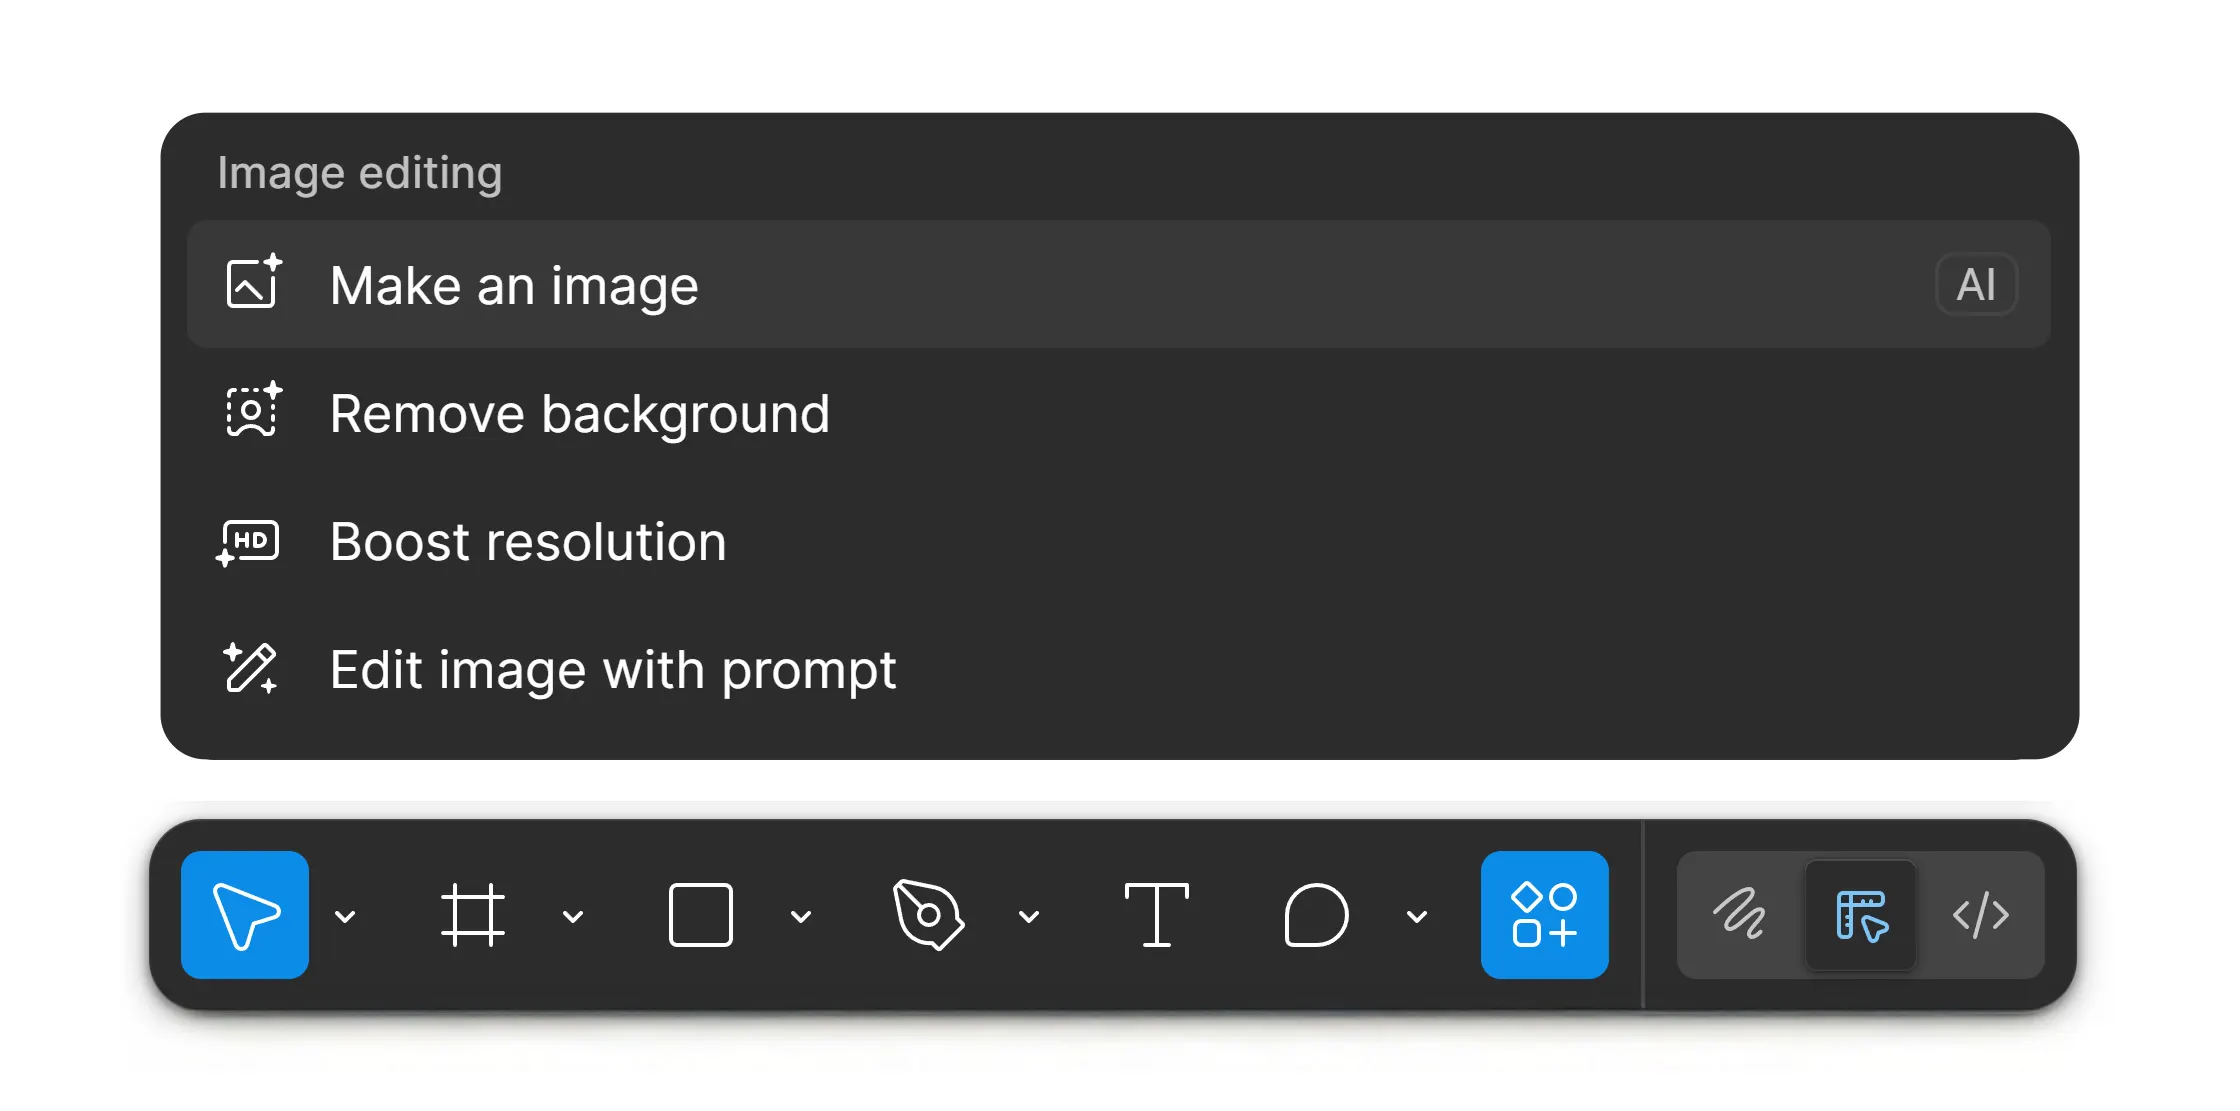
Historically, designers had to constantly context-switch: jumping out of Figma into Photoshop to remove a background, then exporting it, and dragging it back into Figma. The new Visual AI Suite brings these capabilities directly onto your canvas, keeping you in the flow. Need high-quality visual assets? Explore our premium 3D render collection for your projects.
Remove Background: This is now a native, one-click action. Whether it's a product photo of a shoe or a portrait of a person, the AI detects the subject and cleanly isolates it. This is essential for modern, layered UI designs where elements need to float over colored backgrounds.
- 🎨 Make an Image: Need a specific avatar, a texture, or a placeholder illustration? You can generate unique assets from a text prompt directly on the canvas, saving you hours of searching through stock photo sites.
- 📈 Boost Resolution: We've all received low-quality assets from clients. This upscaling tool analyzes pixelated images and reconstructs details, making them crisp and sharp enough for production use.
- 🖌️ Edit with Prompt: This allows for creative changes without re-shooting. Want to change a model's shirt from red to blue? Or add a pair of sunglasses? Just select the area and type your request.
Step 4: Smart Search & Organization
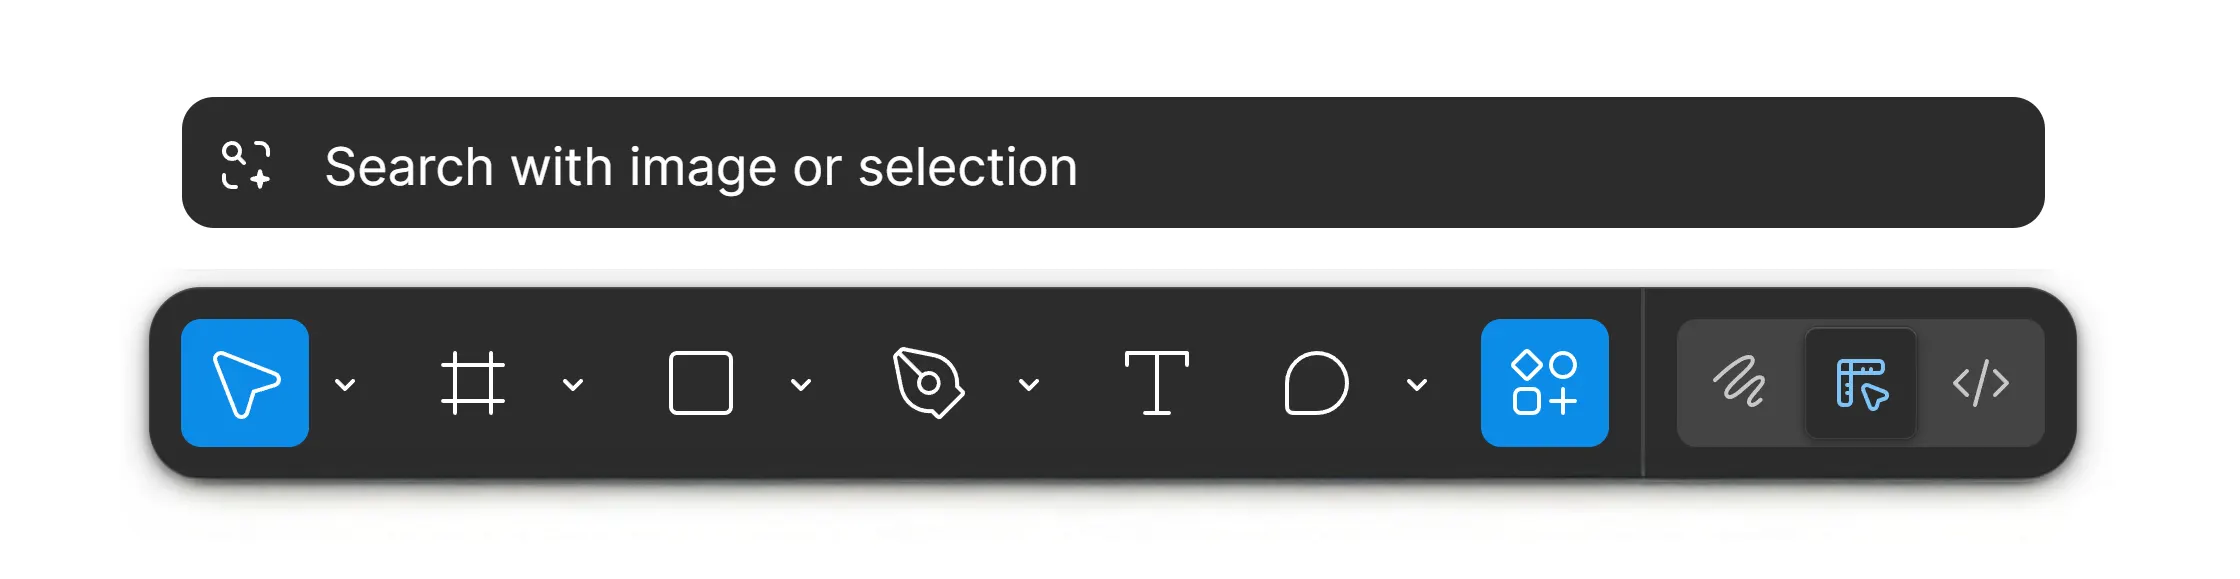
As design systems grow, finding the right component becomes a needle-in-a-haystack problem. The new Search with image or selection feature solves this by understanding visuals, not just file names. You can select a screenshot of a "Settings Icon" or a specific UI pattern, and Figma will hunt through your entire team library to find components that look similar.
The "Rename Layers" Magic: We are all guilty of leaving layers named Frame 132, Rectangle 4, or Vector copy 2. This creates friction during developer handoff because the code structure becomes unclear. The "Rename Layers" AI analyzes the visual content of your frames. It sees a button and names it "Submit Button"; it sees a photo and names it "Profile Image." A single click cleans up your entire file technical debt.
Step 5: Add Interaction & Prototyping
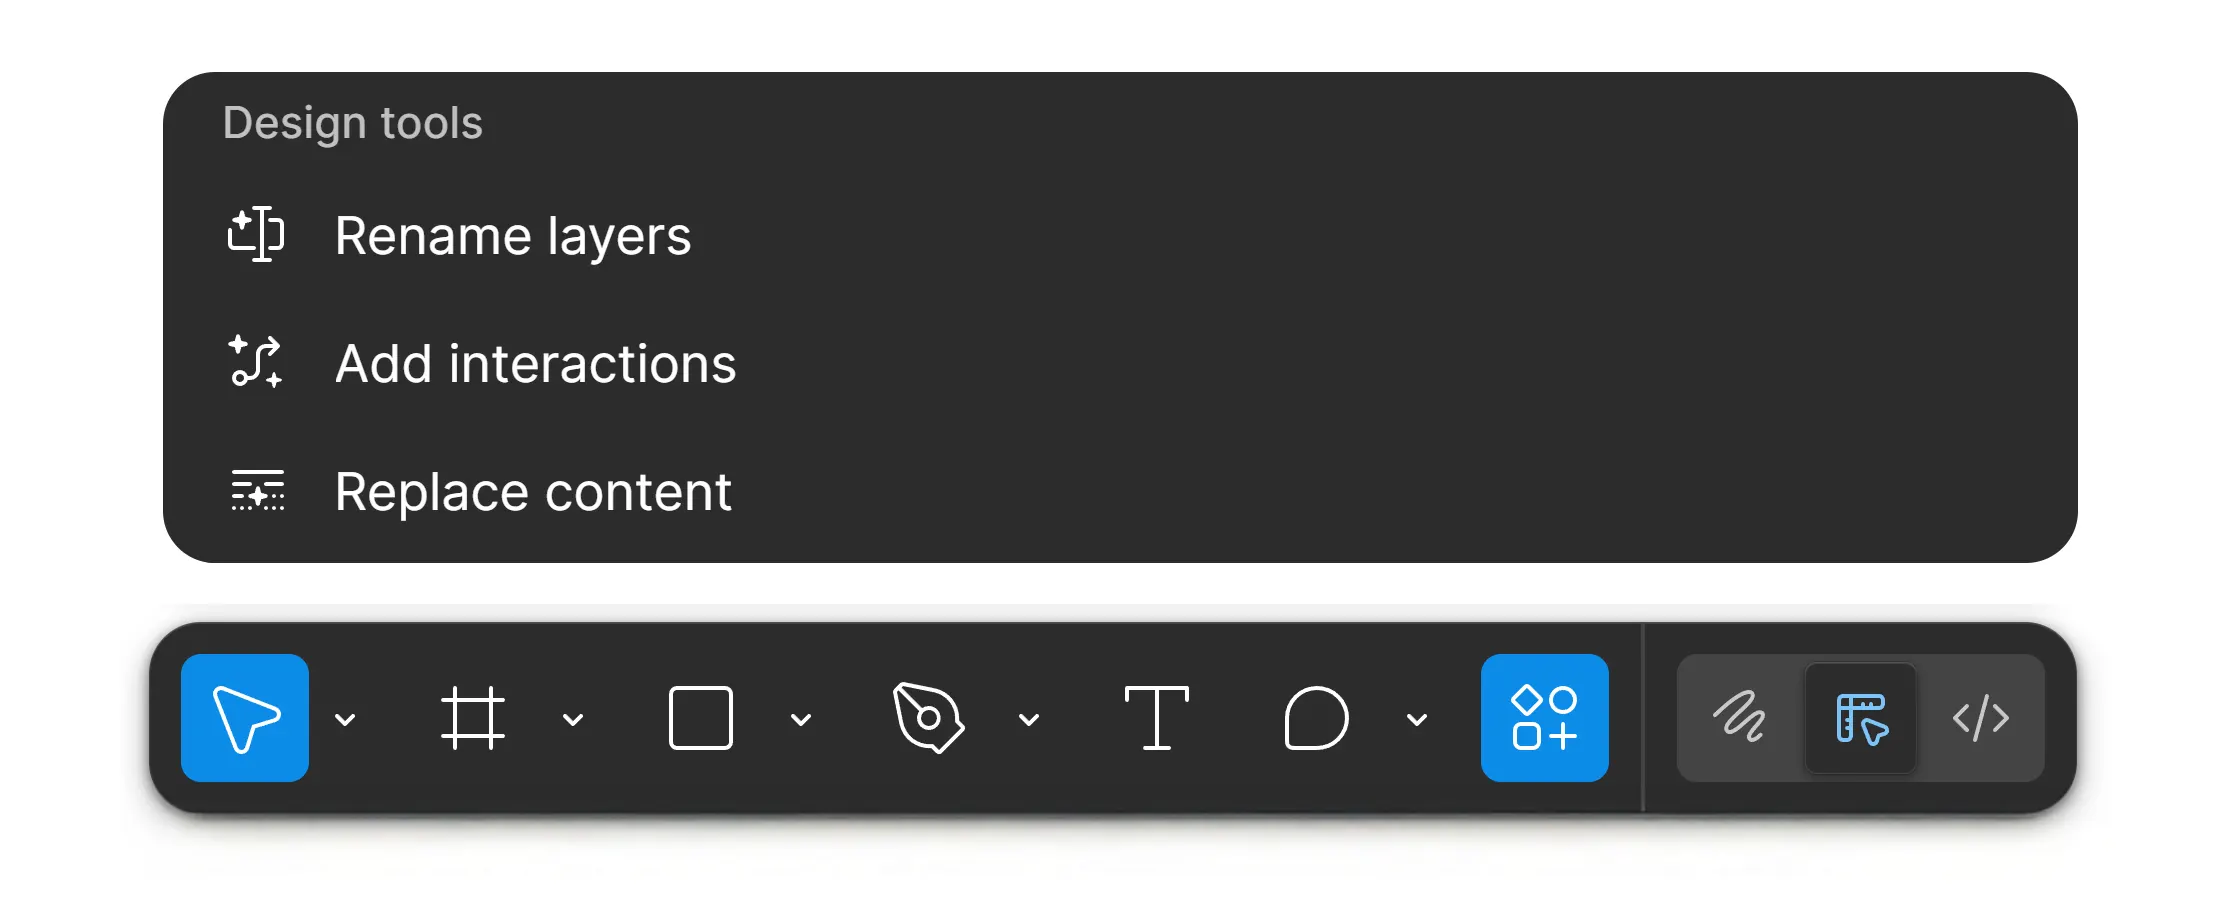
Prototyping is often the most time-consuming part of product design, involving connecting hundreds of "noodles" (interaction wires) between screens. If you have a flow of 20 screens, manually linking every "Back" button and "Next" button can take hours.
The Add Interaction feature automates this logic. You can simply select your main screens and ask the AI to "Create a prototype flow." It understands standard UI patterns—it knows that a "Sign Up" button should lead to an onboarding screen, and a "Back" arrow should return to the previous state. It builds the basic interactive skeleton for you, which you can then fine-tune for specific animations.
Summary: The "AI Sandwich" Workflow
To truly maximize your efficiency in 2026, don't think of these tools as separate features. Think of them as a cohesive workflow—what I call the "AI Sandwich":
- 🍞 1. Generate (The Bread): Start with "First Draft" to get your raw layout and "Make an Image" to create your assets. This gets you from 0 to 60% complete in minutes.
- 🥩 2. Refine (The Meat): This is where you, the human designer, shine. Apply your brand system, tweak the spacing, and use "Rewrite" to perfect the voice and tone of the copy.
- 🍞 3. Polish (The Bread): Finish strong using "Remove Background" for visual pop and "Rename Layers" to ensure your file is clean and ready for developers.
Final Thoughts
The goal of Figma AI isn't to let the computer design for you, but to let it do the manual labor so you can design. By offloading the tasks of layer naming, background removal, and wireframing, you free up mental energy for the things AI can't do: empathy, strategy, and innovation. Ready to try it? Open Figma right now, press Cmd + K, and see what you can build. For more resources, check our Lottie Viewer or mockup gallery.

Superfiles


Lemonade Wishes